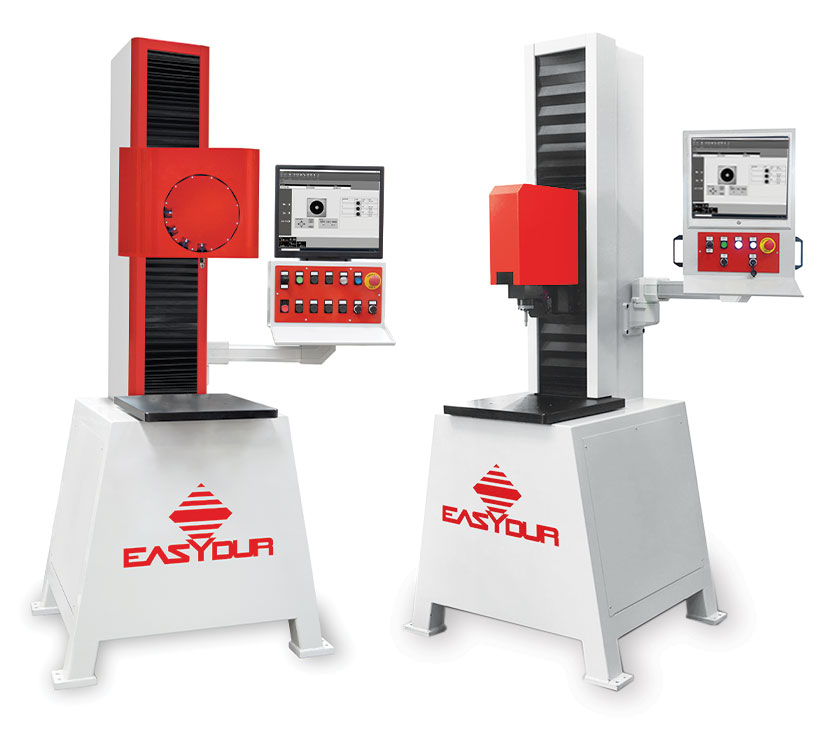
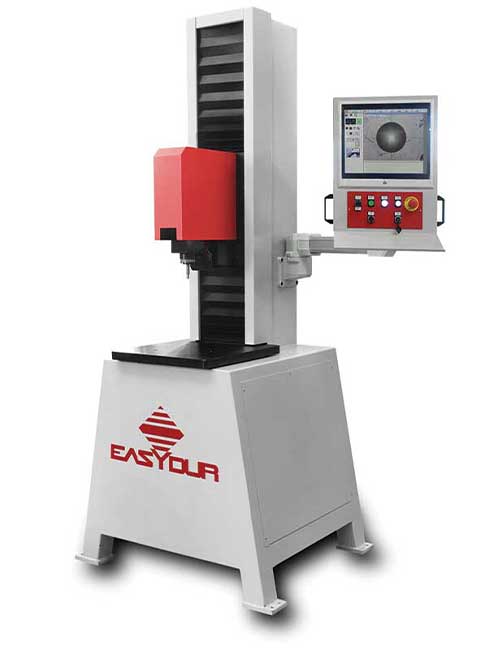
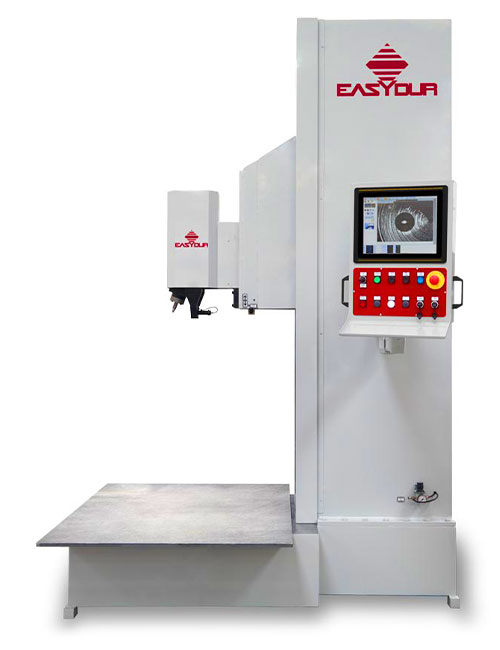
Automatic image analysis for Brinell hardness tests (1-3000 Kg) and Vickers hardness tests (0.25 – 120 Kg); this reliable hardness tester ensures a repeatability of +/- 0.002 Brinell. Machine management happens through a built-in computer. This universal hardness tester is perfect for industry as well as for research (as a laboratory hardness tester). It can mount a X-Y table for pieces positioning.

Integral Universal is, as the name suggests, a universal hardness tester able to perform different hardness tests, including Martens test. In fact, it can execute multiple types of measurements, according to DIN-ISO, ASTM DIN regulations, and works perfectly on any type of metal and alloy, as well as on synthetic materials, ceramics, abrasive stones, plastics, rubber, aggregates and many other materials. Upon request, load forces for additional tests can be added.
Integral Universal is characterized by the possibility to execute automatic image analysis for Vickers (0.25 – 120 Kg) and Brinell hardness test (1 – 3.000 Kg, with a repeatability of +/- 0.002 Brinell) as well as for all the other hardness tests requiring the reading of the indentation. Readings happen through a built-in camera and are shown on an integrated monitor, providing with high-definition electronic measurement, with precision of 1 micron and a zoom range from 20x to 400x. Moreover, everything is 100% automatic: thanks to the auto focus, aided by the piece presser, and the light intensity adjustment.
WHAT ARE THE MAIN 3 TESTS USED TO TEST HARDNESS?
For steel, and metal in general, we can say that the main hardness tests are, indeed, 3: Brinell hardness test, Rockwell hardness test, and Vickers hardness test (with diamond indenter). Vickers and Brinell, require the possibility to read the indentation with a camera, while Rockwell measures the depth of penetration of the indenter. But hardness is a very wide topic, and a universal hardness tester shall be able to measure not only these three scales.
THE METHODS AND STANDARDS ADOPTED BY INTEGRAL UNIVERSAL ARE
- Brinell based on EN-ISO 6506
- Vickers based on EN ISO 6507
- Rockwell based on EN ISO 6508
- Plastics based on DIN 53456
- Metallographic controls can be carried out on metal structures and measurements of the depth of the hardness surface treatment can be performed
APPLICABLE ACCESSORIES FOR THE UNIVERSAL HARDNESS TESTER
- Table 400x300mm
- Penetrators and specimens for the various hardness tests
- Camera with lenses to be combined with the various hardness tests
- X Y table for HV seam tests
- Printer for charts, images and statistics
- Special penetrators and special tests
- Tests of depth of surface hardening treatments
- Piece table with round plate, diameter 60mm
- “V” shaped piece table for rods of up to 200mm diameter
- Statistics programs and database
- Martens test

Integral Universal

Industrial universal hardness tester
SOME OF THE MAIN FEATURES OF THE UNIVERSAL HARDNESS TESTER MOD. INTEGRAL
- Print of the impression image and of the specimen surface; print of the inspection report with statistic analysis
- Image storing and cable transmission of images
- Large data and test storage with file management
- Built according to the requirements for certification by calibration institutes
- The load precision is controlled via high-precision closed loop load cells (AFFRI patent)
- Perfect and effective measure even at the first test
TECHNICAL SPECIFICATIONS & SOFTWARE
Integral Universal is controlled by a touch screen computer installed on board the machine, complete of integrated hard disk and Windows 10 operating system, with Easydur proprietary software that allows the operator to follow the various automatic hardness testing phases: test selection, Rockwell depth measurement, rapid and high-precision Brinell and Vickers measurements; filing of piece images and impressions, dimensional measurements.
The complete statistics program supplies charts and histograms as well as a large data storage.
A data output allows the test report to be printed.
PERFORMABLE TESTS
- BRINELL (HBW UNI EN ISO 6506 / DIN EN ISO 6506 / ASTM E-10; HBWT ASTM E103)
- HBW1/30 – HBW2.5/15.625 – HBW2.5/31.25 – HBW2.5/62.5 – HBW2.5/187.5 – HBW5/25 – HRW5/62,5 – HBW5/125 – HBW5/250 – HBW5/750 – HBW10/100 – HBW10/250 – HBW10/500 – HBW10/1000 – HBW10/1500 – HBW10/3000 HBWT2,5/62,5 – HBWT2,5/187,5 – HBWT5/125 – HBWT5/250 – HBWT5/750 – HBWT10/500 – HBWT10/1000 – HBWT10/1500 – HBWT10/3000
- ROCKWELL (UNI EN ISO 6508 / DIN EN ISO 6508 / ASTM E-18)
- HRA – HRB – HRC – HRD – HRE – HRF – HRG – HRH – HRK – HRL – HRM – HRP – HRR – HRS – HRV HR15N/T/S/W/X/Y – HR30N/T/S/W/X/Y – HR45N/T/S/W/X/Y
- VICKERS (UNI EN ISO 6507 / DIN EN ISO 6507 / ASTM E-384 / ASTM E-92)
- HV1 – HV2 – HV3 – HV5 – HV10 – HV20 – HV30 – HV50 – HV100
TECHNICAL DETAILS OF INTEGRAL UNIVERSAL HARDNESS TESTER
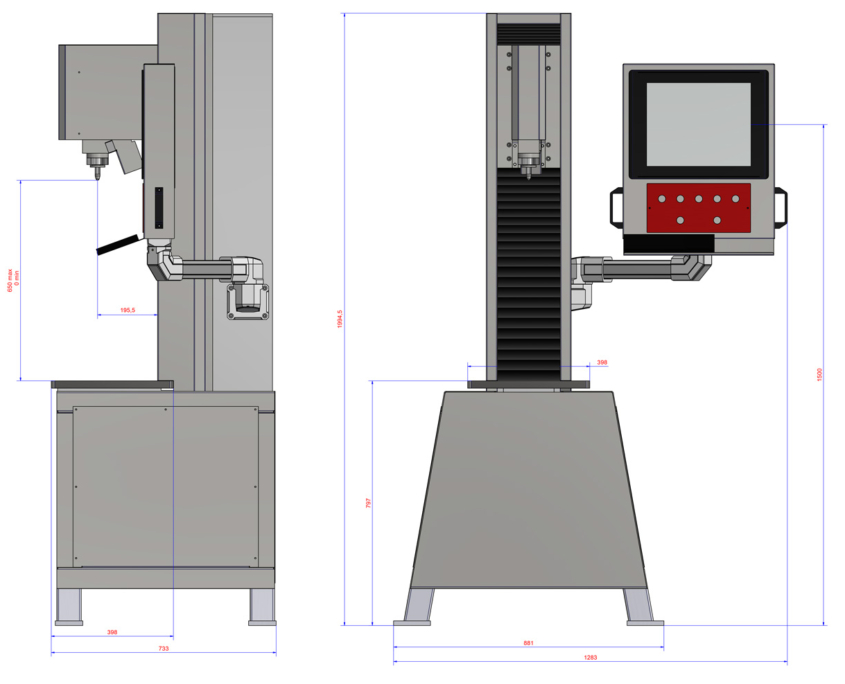
- DIMENSIONS
- WORKING DEPTH
- FREE WORKING HEIGHT
- 733 x 881 x 1994 mm
- 195,5 mm
- 650 mm
LAYOUT

HOW DO YOU MEASURE THE HARDNESS?
Let’s dive into this topic also with the help of our video
Easy and intuitive machine management is made possible by a built-in computer, and the automatic selection of loads and test scales can be done from the dedicated menus. The test recipes can easily be created, stored and recalled at will.
The durable structure of this universal hardness tester is protected against dust and any atmospheric agents as well as against shocks, thereby making this durometer the perfect choice also in tough industrial environments (it is a true industrial hardness tester!).
Thanks to its high precision, it can of course be used also in laboratories for quality control purposes, in manufacturing plants for fast measurements and lot selection, as well as in research institutions, technical schools and universities, and so on.
It is possible to carry out tests on even on blank or unclean surfaces, so Integral Universal is ideal also for installation in foundries and forging facilities.


