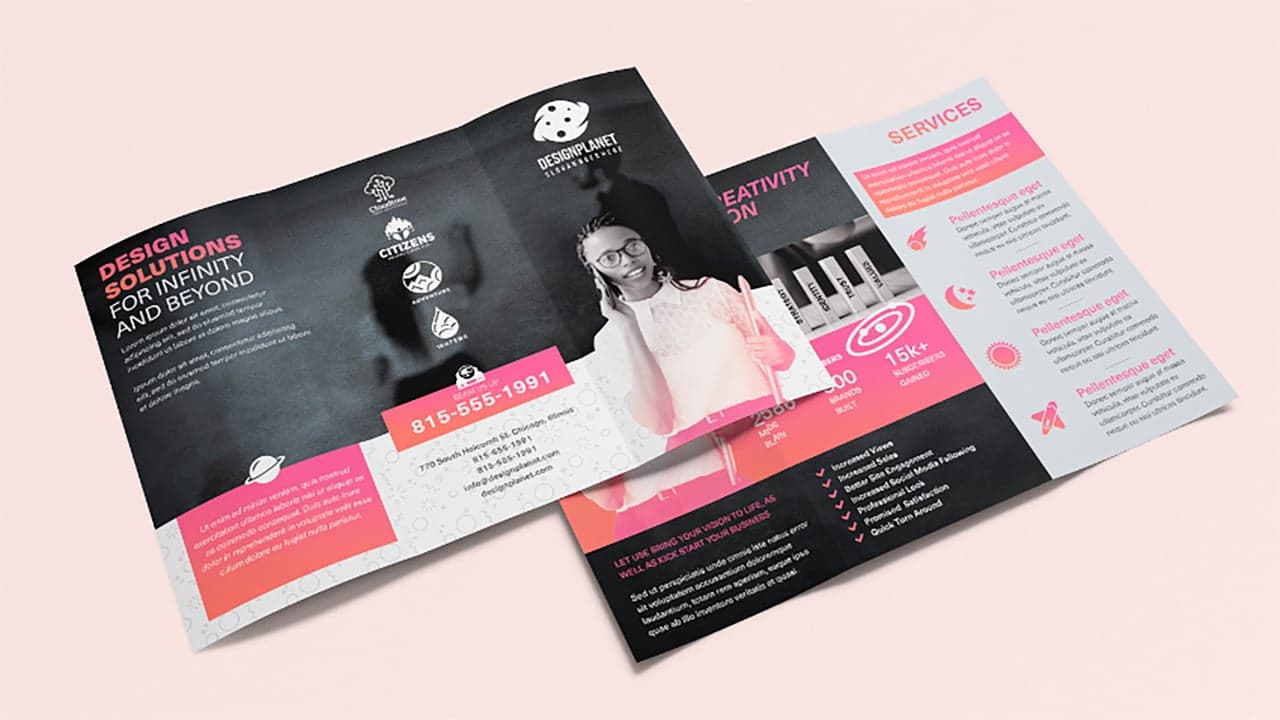
In today's tutorial, we'll create our very own tri-fold brochure mockup. We'll put together a tri-fold brochure template in Photoshop that's perfect for a creative agency or small business. However, you can use the same steps to create other sizes and styles as well. Just change the colors and images, and you're good to go.
Interested in trifold video tutorials? The Envato Tuts+ YouTube channel will be your favorite place! Watch this new trifold video to learn how to design a brochure in Photoshop:
What You’ll Need to Make a Brochure
To complete this brochure template project, we are using the following resources:
Find more resources on Envato Elements!
1. How to Set Up a Tri-Fold Brochure Sized Document
First, we have to set up our trifold size document and make sure it’s ready for printing. Let’s look at some Photoshop brochure template specifics.
Step 1
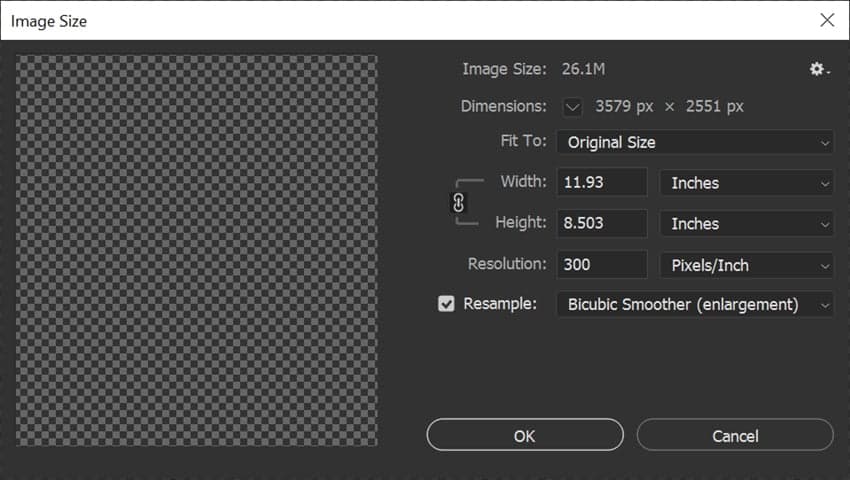
One of the most common trifold brochure sizes in Photoshop templates is 11.93 by 8.503 inches. Though trifold brochure dimensions vary, you can also use 11 x 8.5 inches.
You’ll also want to set the Resolution to 300 to ensure a crisp, clear printing experience.
Step 2
Now that we have our trifold dimensions, let’s set up our guides, which will help us know where to place what.
Our first set of guides will be our “bleed” guide, as well as our “fold” guides. These will show us where the tri-fold brochure will be folded once printed.
Turn on the ruler by hitting Control-R, and then right-click > Millimeters.
Click and drag on the ruler to create a guide. Use the left “height” ruler for a vertical guide and the top “length” ruler for a horizontal guide.
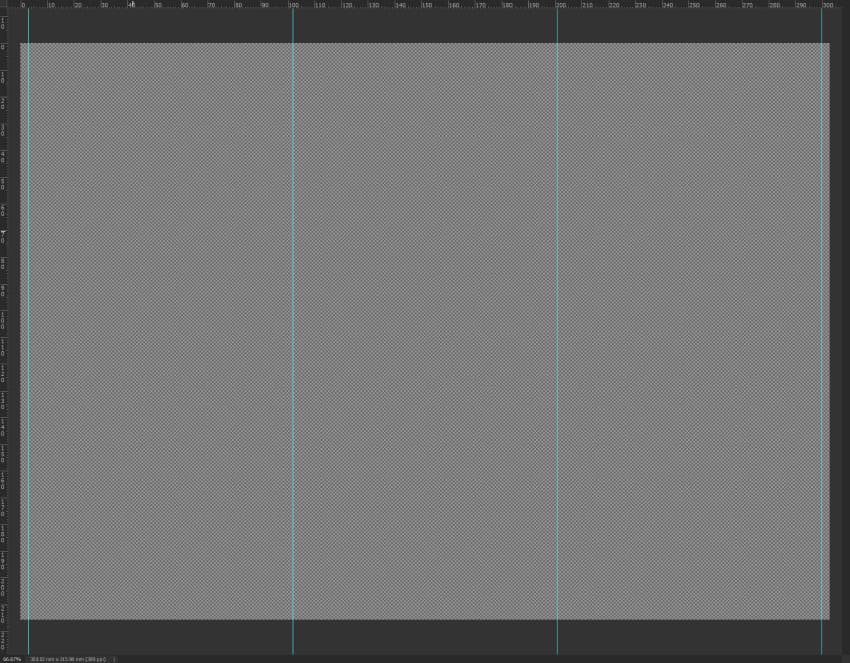
Place four vertical guides at the 3, 102, 201, and 300-millimeter marks. We are creating three 99-millimeter columns.
Step 3
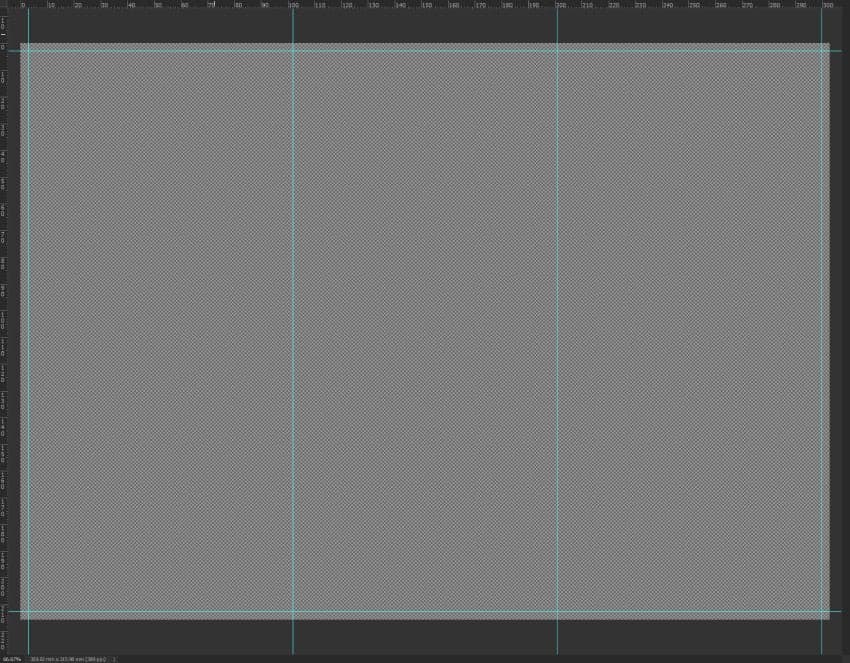
Place two horizontal guides at 33 and 213 millimeters. This will further limit your tri-fold brochure dimensions.
Step 4
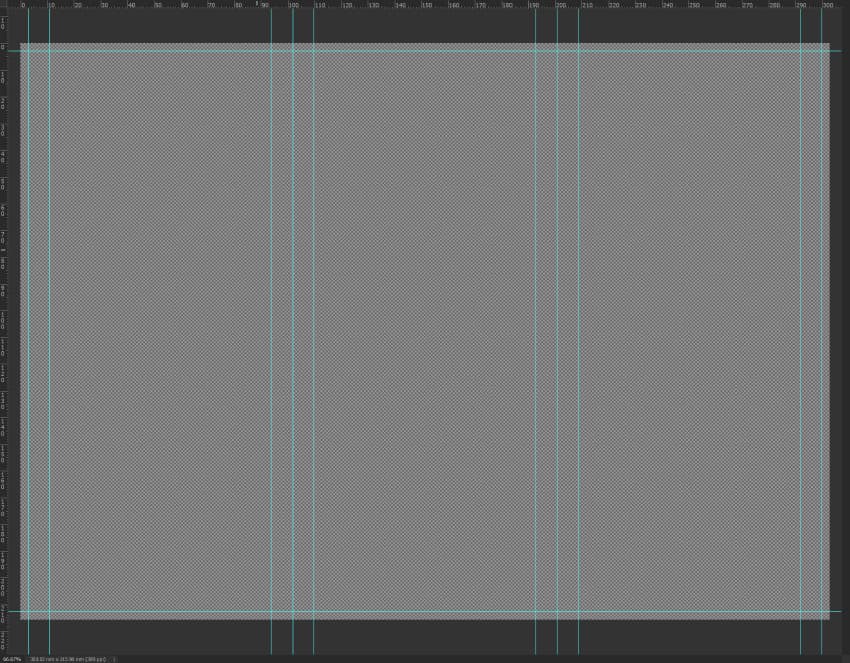
Now let’s create our content areas within the tri-fold brochure dimensions. We want any important content and text to stay within these lines, unless we want the content to reach onto a different panel.
First, place vertical lines at 11, 94, 110, 193, 209, and 292 millimeters.
Step 5
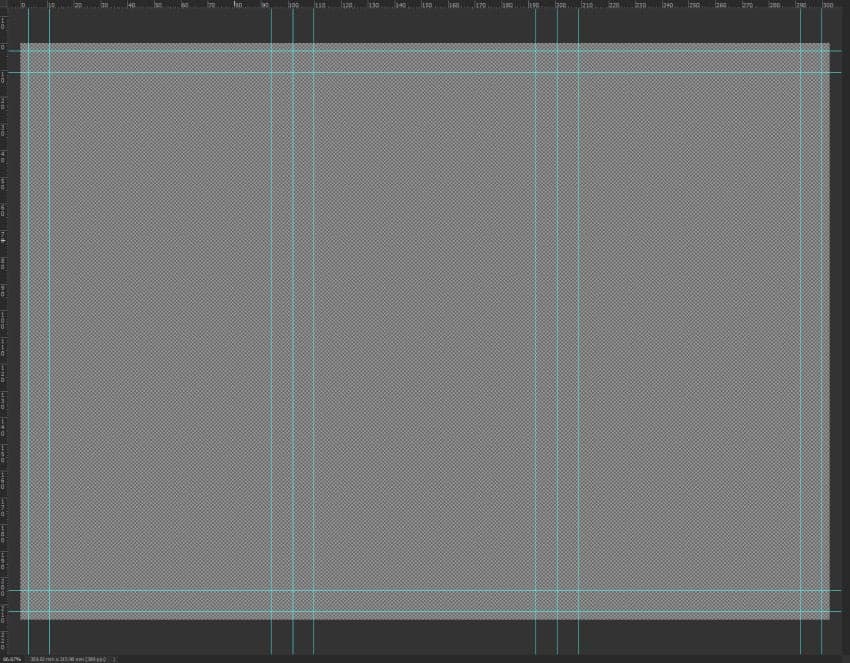
Finish the guides by placing two horizontal guides at 11 and 20 millimeters.
This will leave us with three 83 x 194-millimeter panels within the trifold dimensions! Keep in mind that there are different trifold brochure sizes in Photoshop templates. So this number will vary from template to template.
If you’re making a tri-fold brochure with a front and back too, then go ahead and save two versions of this document.
You can also save this as a blank tri-fold brochure template for Photoshop and use it over and over again!
2. How to Design a Background for a Tri-Fold Brochure
With our document prepped, let’s lay down our backgrounds to make a brochure. As I mentioned above, I will have two Photoshop trifold templates in total: one for the front side and one for the back.
Step 1
On the front side document, create a white rectangle the same size as the canvas, using the Shape tool.
Add a Pattern Overlay layer effect to the shape, using the black and gray pattern from this pattern pack.
Bring the Opacity of the Pattern Overlay down to 10%, setting the Size to 25%.
Step 2
While still in the front side document, create a 303 x 153-millimeter rectangle towards the top of the canvas. Set it to any color. Make sure to cover the entire trifold brochure size.
Step 3
Clip a photo of a Blackboard or Chalkboard into the rectangle shape. Enlarge the image so that only the chalkboard texture is showing if needed.
Step 4
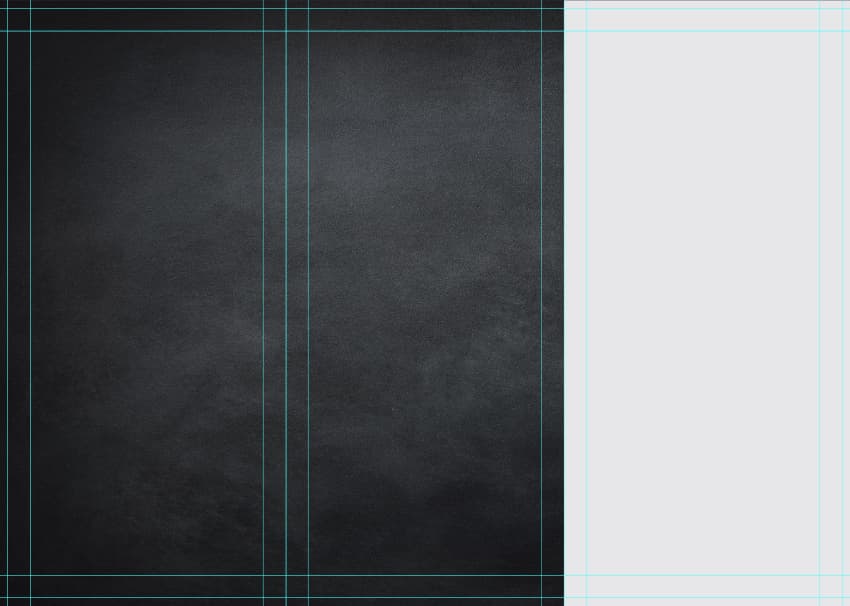
Change to the backside document, and place the same chalkboard texture, filling up the full canvas.
Step 5
Place a light gray #e6e7e8 102 x 216-millimeter rectangle on the right-hand side of the “Back” document. This rectangle should line up with your right-most “fold” guide. This will visually divide your trifold brochure size so you don’t get your content mixed up.
Step 6
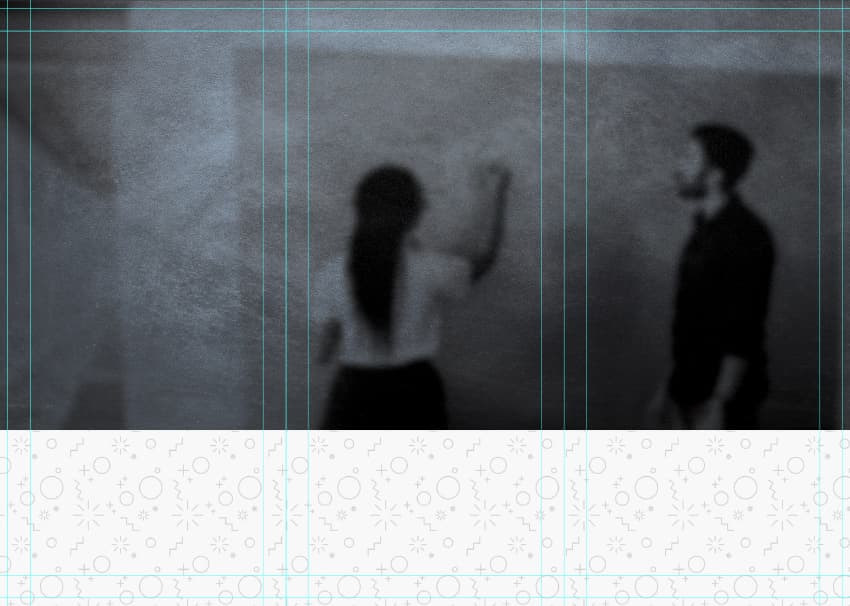
Switching to the frontside document, place and clip an image of your team above the chalkboard texture. Set the Layer Mode to Overlay. Add a reasonably harsh Filter > Blur > Gaussian Blur.
Group these layers into a group named “Background.” Do the same to the back document’s background layers.
3. How to Create the Front of a Business Tri-Fold Brochure Design
Let’s focus on each side of the brochure separately so we don’t have to keep switching back and forth. We’ll start with the front of the template for a tri-fold brochure.
Step 1
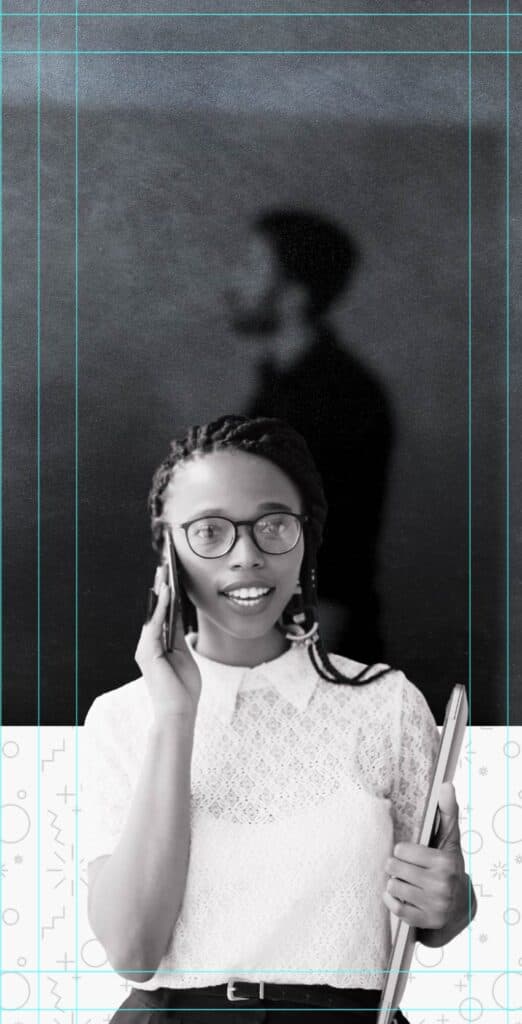
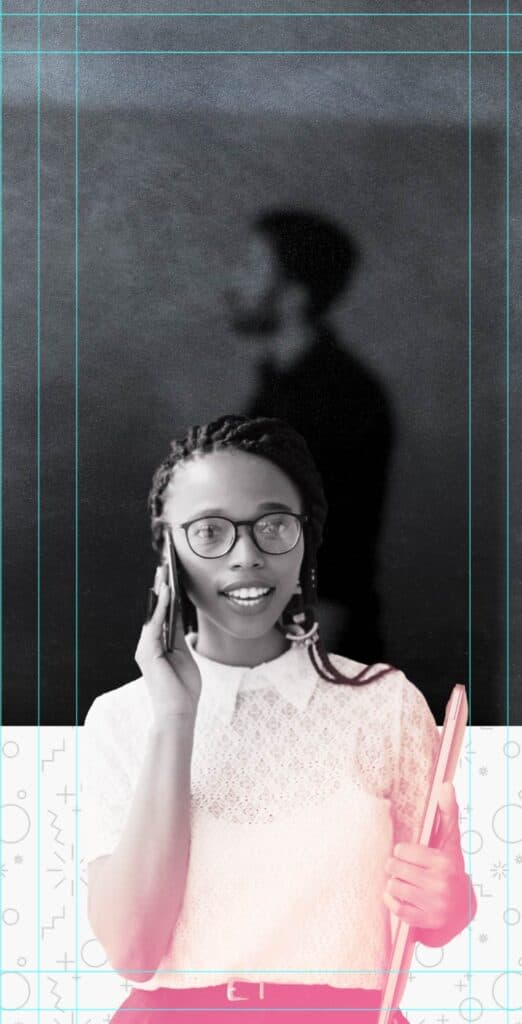
Starting with the right-most panel, extract and place a subject of your choice using your preferred method.
I will be using this stock image of a Business Woman Holding a Phone, and I extracted her using the Select Subject tool, which worked great here as we are going for more of a graphic style look!
Next, make your subject greyscale with Image > Adjustments > Hue/Saturation.
Step 2
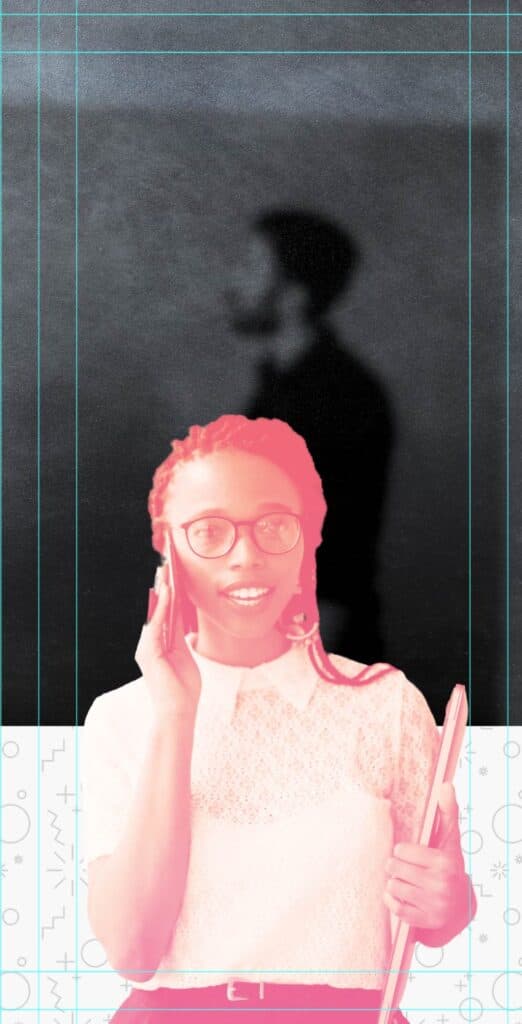
Create a pink (#ef5591) to orange (#f26f64) Gradient fill layer. Set it to Style: Linear and Angle: 90, and clip it into the subject.
Step 3
Use a soft black Brush to mask out the gradient covering the subject’s face and upper body.
Step 4
Finish up by placing a white version of your logo above the subject. I used this Planet Logo, and I turned it white with a Color Overlay layer effect.
Group the subject, gradient, and logo, naming the group “Right Panel.”

Step 5
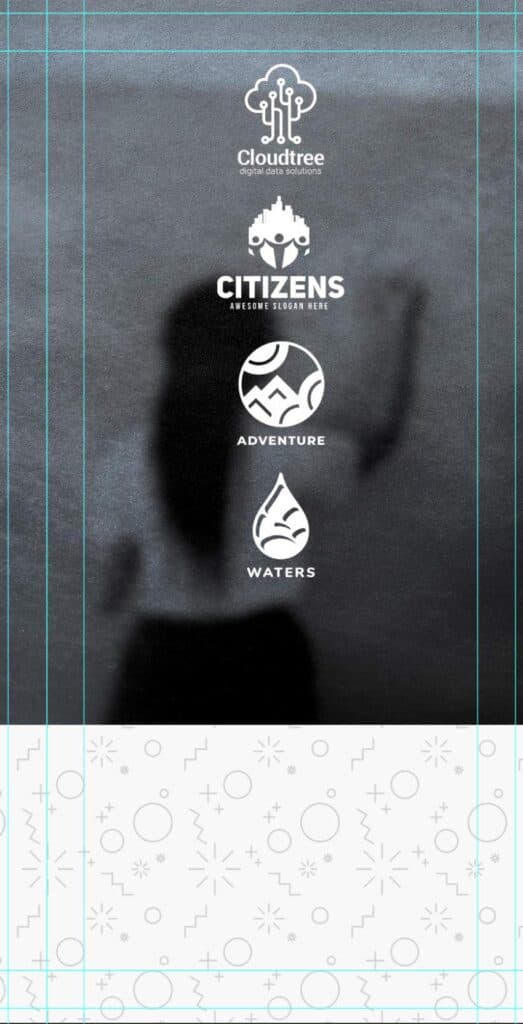
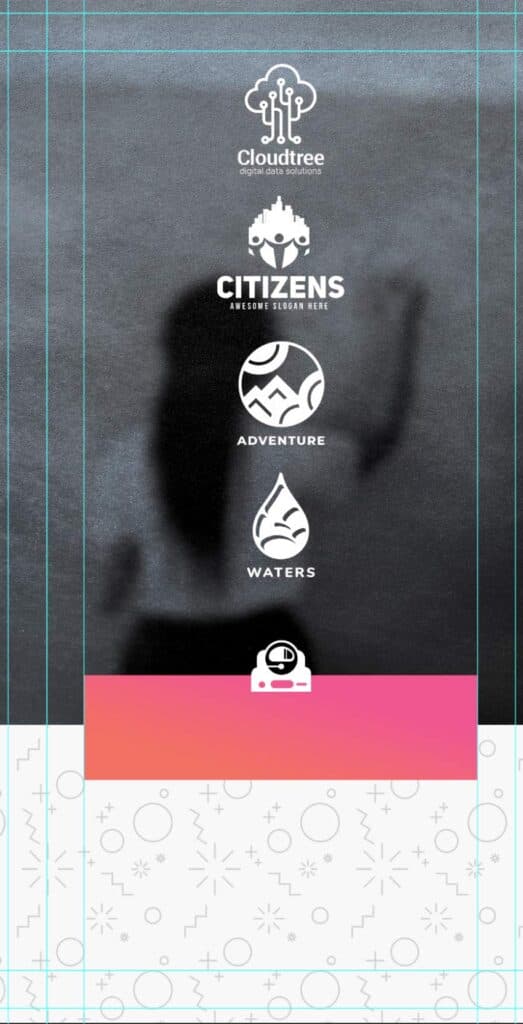
Now, on to the middle panel. Let’s start by creating a row of featured clients, sponsors, or any other logos you may want to feature, depending on your needs!
I used the same Color Overlay layer effect on all logos as I did on the “Design Planet” logo, turning them all white.
Group all of the logos to keep things nice and organized.
Step 6
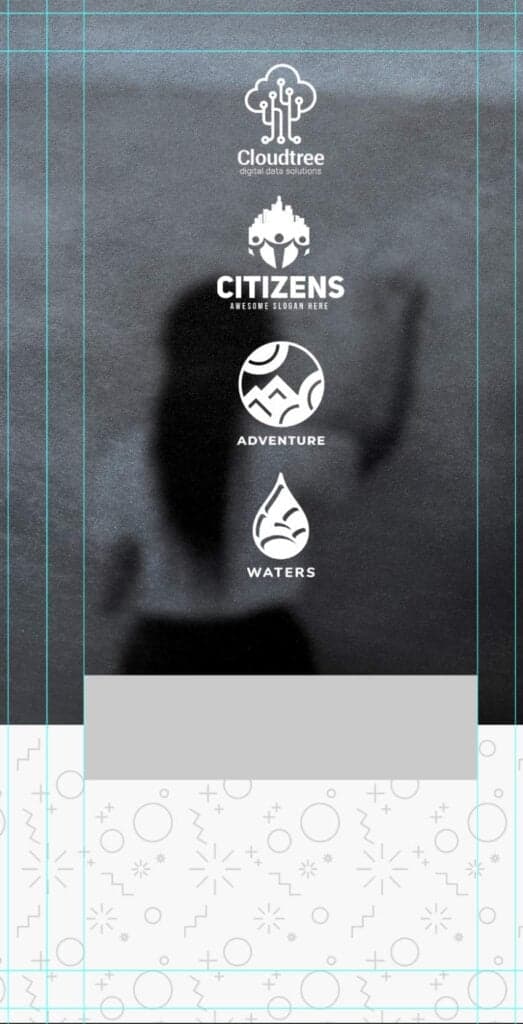
Create an 83.1 x 22.1-millimeter rectangle using the Shape tool—any color. Place it similarly to what you see below.
Step 7
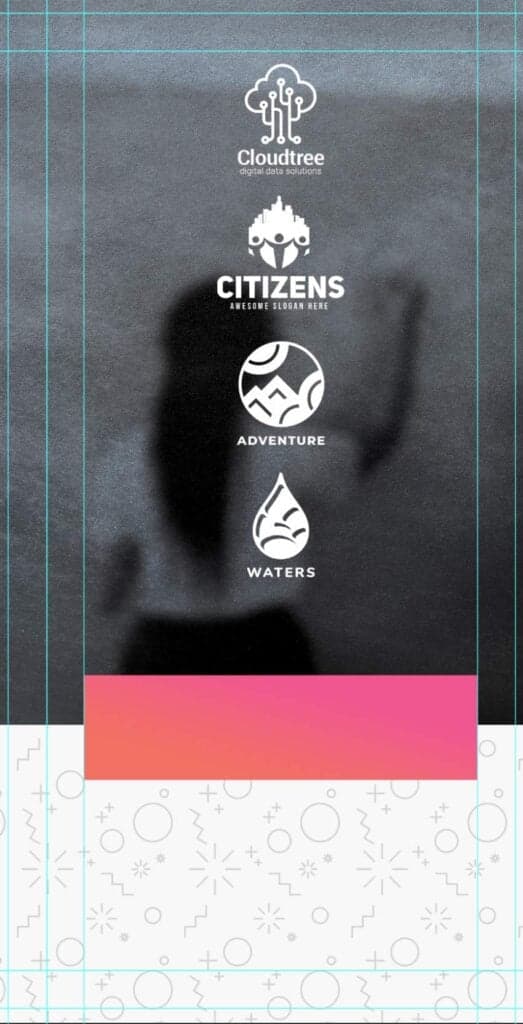
Add a Gradient Layer Effect to the rectangle in the same pink (#ef5591) to orange (#f26f64) Linear gradient with an Angle: -105.
Step 8
Add icon “10” from the 15 Space and Astronaut Icons pack.
Change the icon to white by copying the Color Overlay layer style from one of the previous logos onto the icon.
You can copy a layer style by holding Alt and then clicking and dragging the style from one layer to another.
Step 9
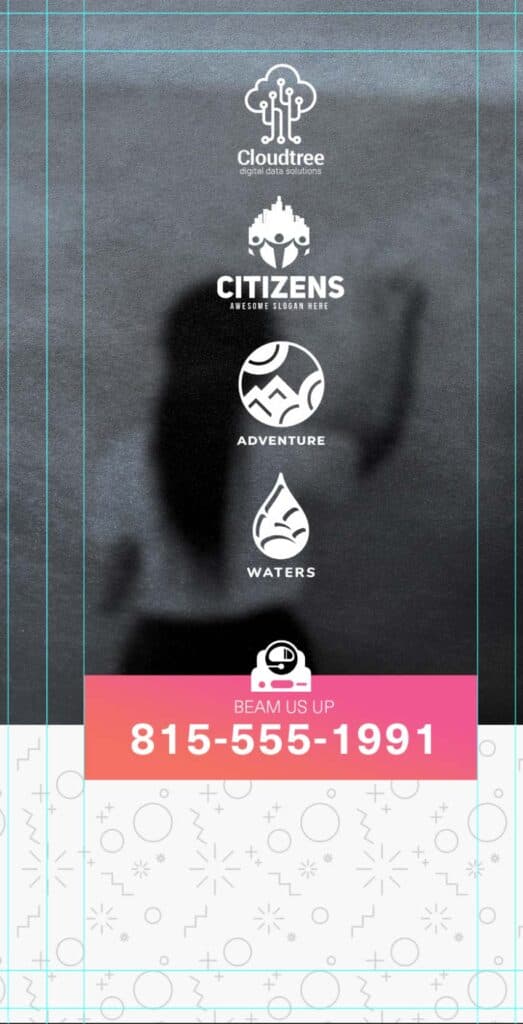
Add your phone number and a call to action or phrase. For today’s design, I will be using the font Neue Haas Unica.
Use the Light font weight at around 10 pt for the call to action, and the Bold font weight at approximately 26 pt for the phone number. Change the text size to suit your needs.
Make sure the text is set to Center Text and white.
Step 10
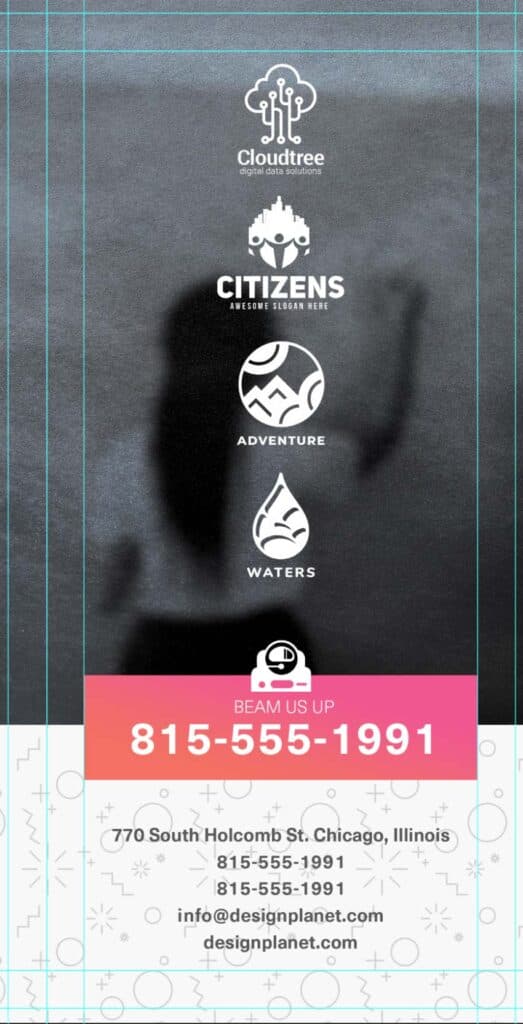
Finish the middle panel by adding any more contact information like your address, any other phone numbers, or a website URL.
I used Neue Haas Unica in Bold at 11 pt in a soft gray #58595b color.
Group your layers, naming it “middle panel.”
Step 11
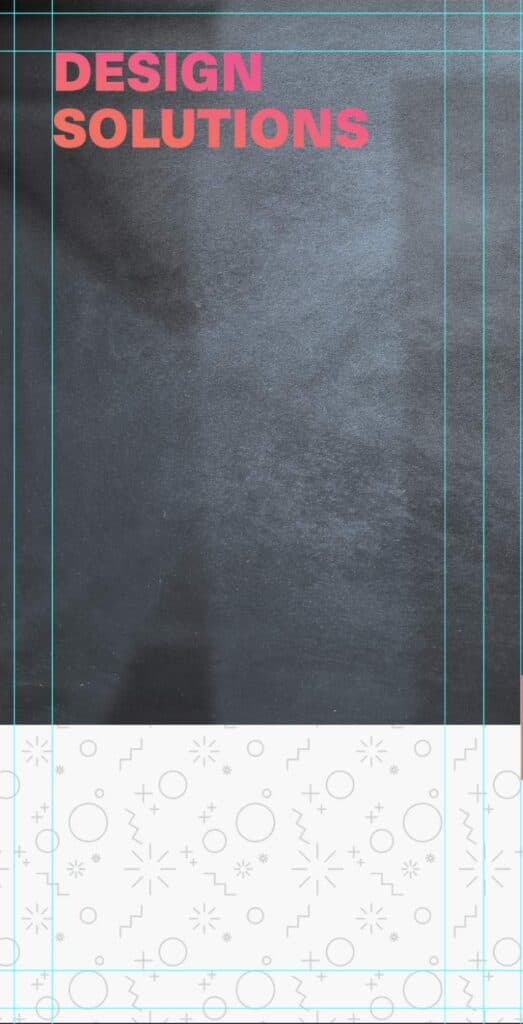
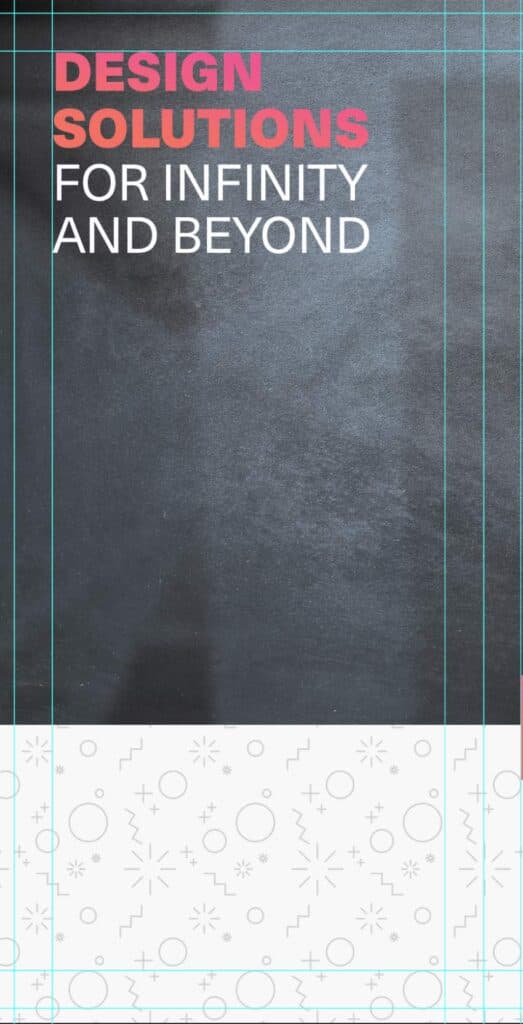
Let’s finish by designing the left panel. Type out the first half of your tagline using Neue Haas Unica in Black at 32 pt in any color.
Copy, drag, and drop the same orange-to-pink gradient layer style from the phone-number rectangle onto the first half of your tagline.
Step 12
Type out the second part of your tagline using Neue Haas Unica in Regular at 30 pt in white. Place it directly below the first half of the tagline.
Both lines of text should be pressed up against the left-most content guide.
Group the two lines of text, naming the group “tag line.”
Step 13
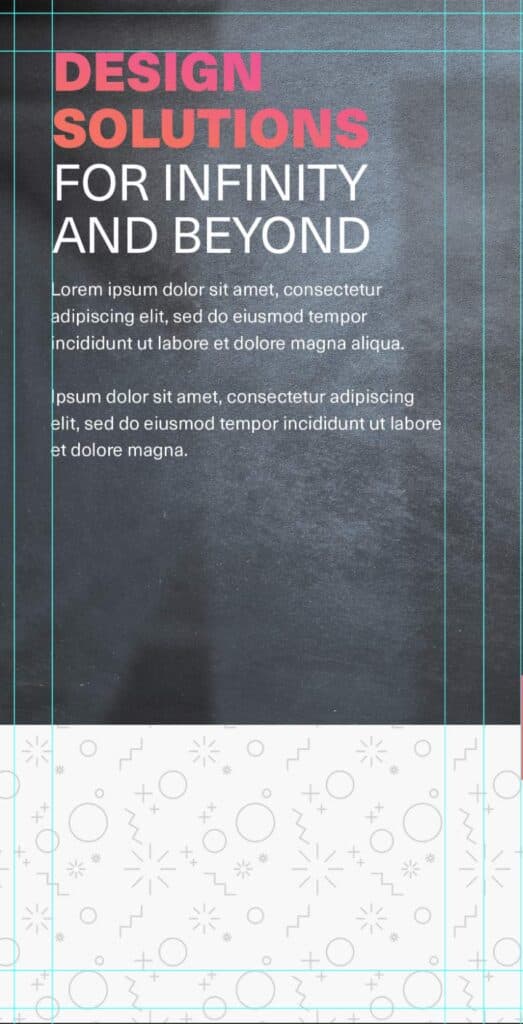
Place any additional flavor text below the “tag line” group using Neue Haas Unica in Regular at 11 pt in white.
Always be aware of your tri-fold dimensions. Remember, keep all the text in between the two left panel content lines, so they don’t end up in the fold of the brochure!
Step 14
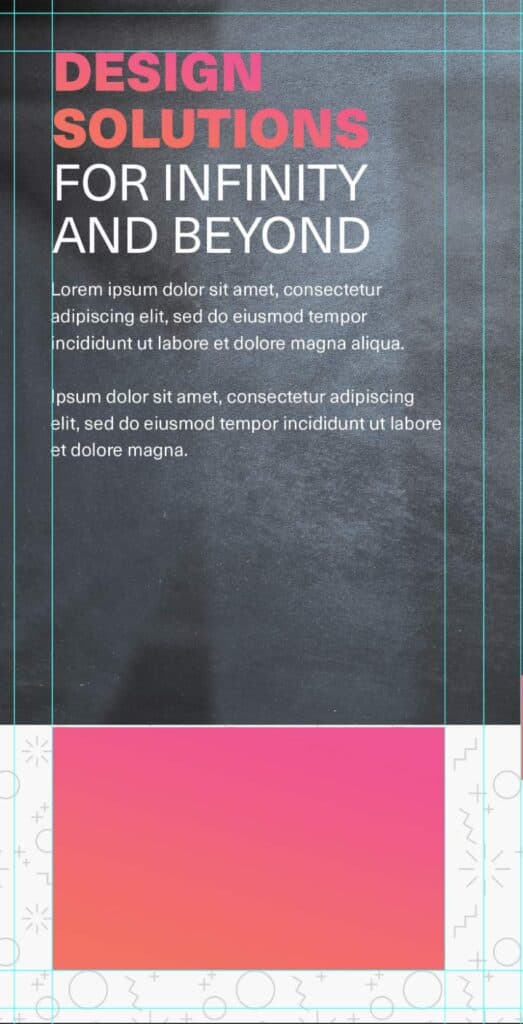
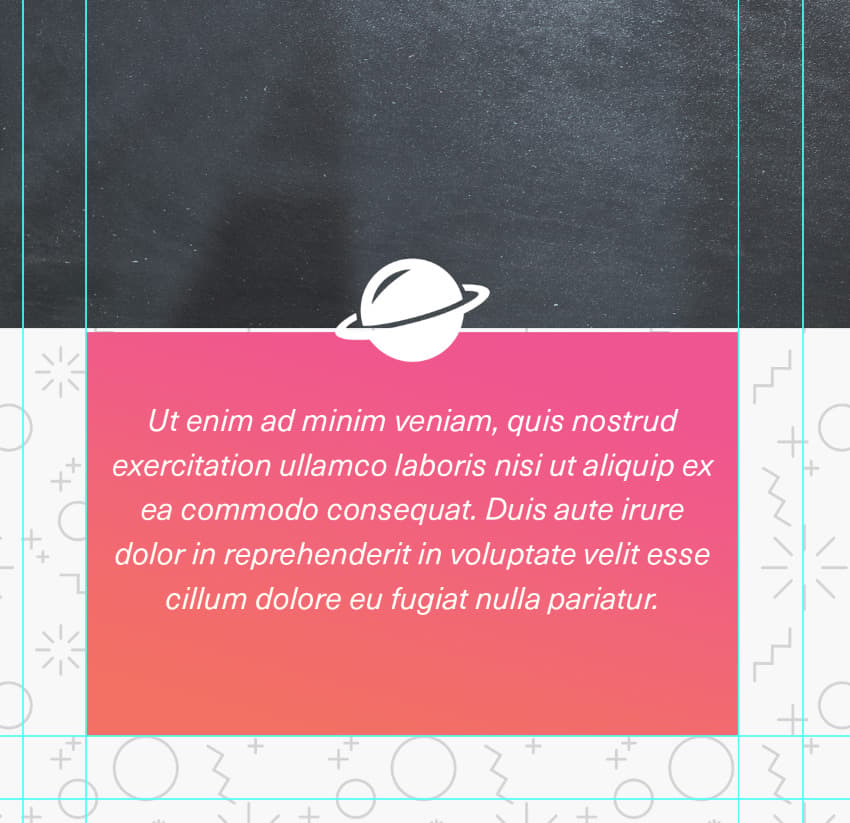
Create a second orange-to-pink gradient rectangle towards the bottom of the left panel. To save time, you can always copy the first smaller rectangle from earlier and then resize it. My rectangle is 83 x 53 millimeters.
Step 15
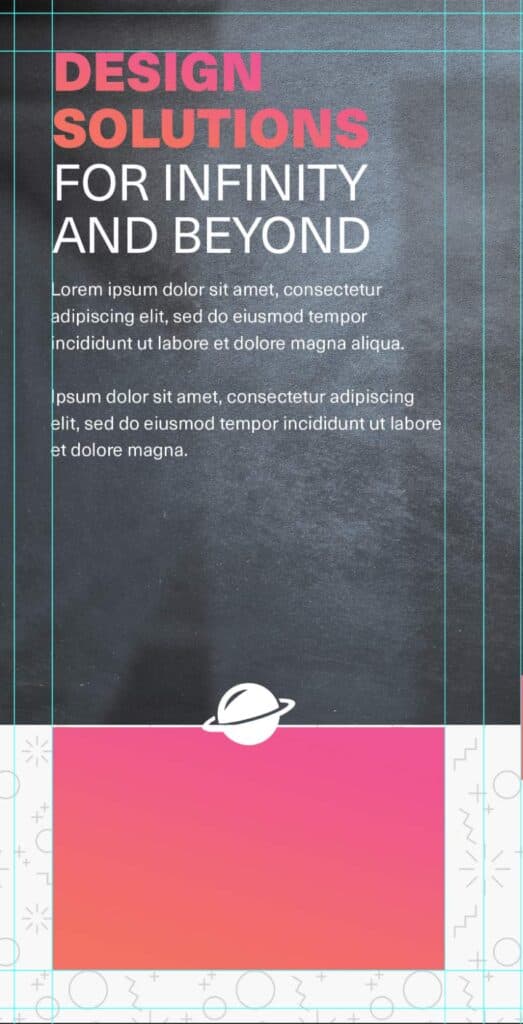
Add icon “1” from the 15 Space and Astronaut Icons pack, placing it in the top-middle of the rectangle.
Turn it white like all the other logos and icons.
Step 16
Finally, place some quote Centred Text inside the rectangle. Below, I used Neue Haas Unica in Italic at 11 pt in white.
Group all of your left panel layers, and you are done with the front side!
4. How to Create the Back of a Business Tri-Fold Brochure Design
Let’s move on to the back of the template for a tri-fold brochure. We will be using the same fonts, layer styles, and icons for the back of our design as we did for the front. Try copying and pasting them from one to the other to save some time.
Step 1
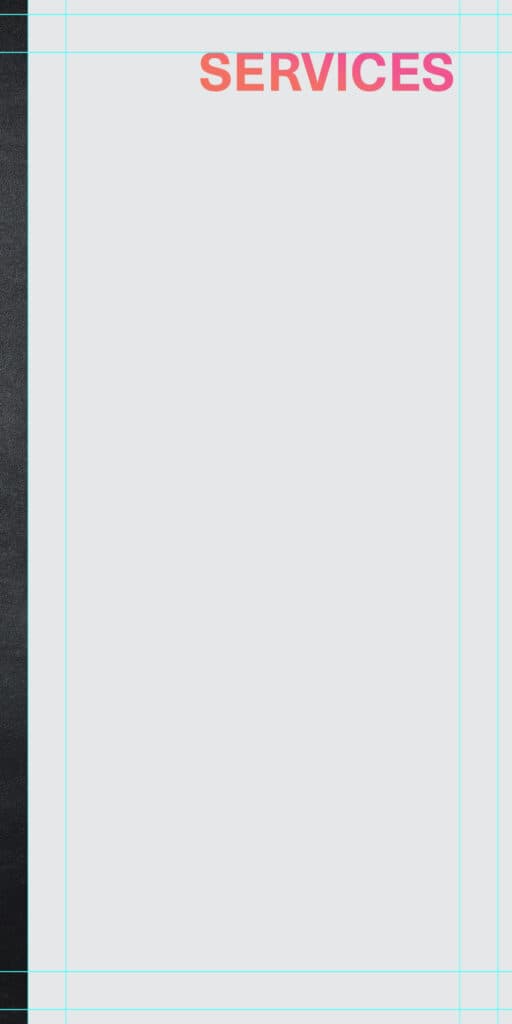
First, let’s add some information to the right-side panel. Create a title labeled “Services” towards the top of the gray rectangle using Neue Haas Unica in Bold at 32 pt.
The color doesn’t matter as we are going to add a Gradient Layer Effect to the text in the same pink (#ef5591) to orange (#f26f64) Linear gradient with an Angle of -105.
Step 2
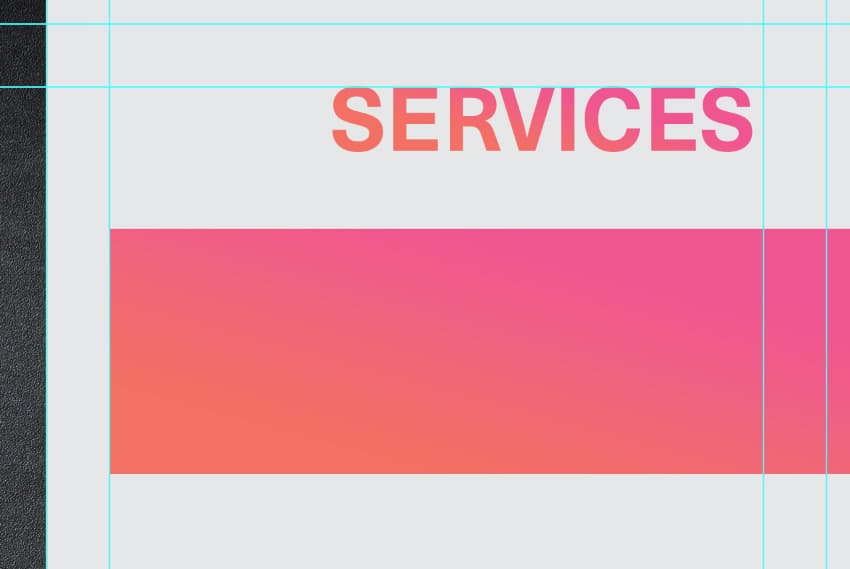
Create an orange and pink gradient rectangle coming from the side of the gray square. My exact size is 94 x 31 millimeters.
Step 3
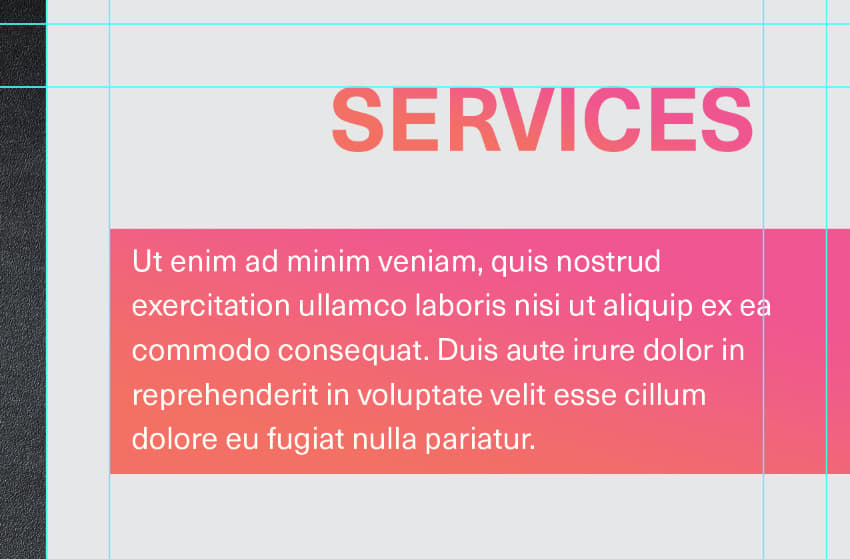
Add a brief description of your services using Neue Haas Unica in Regular at 11 pt in white.
Left Align the text.
Step 4
Now, let’s list our services!
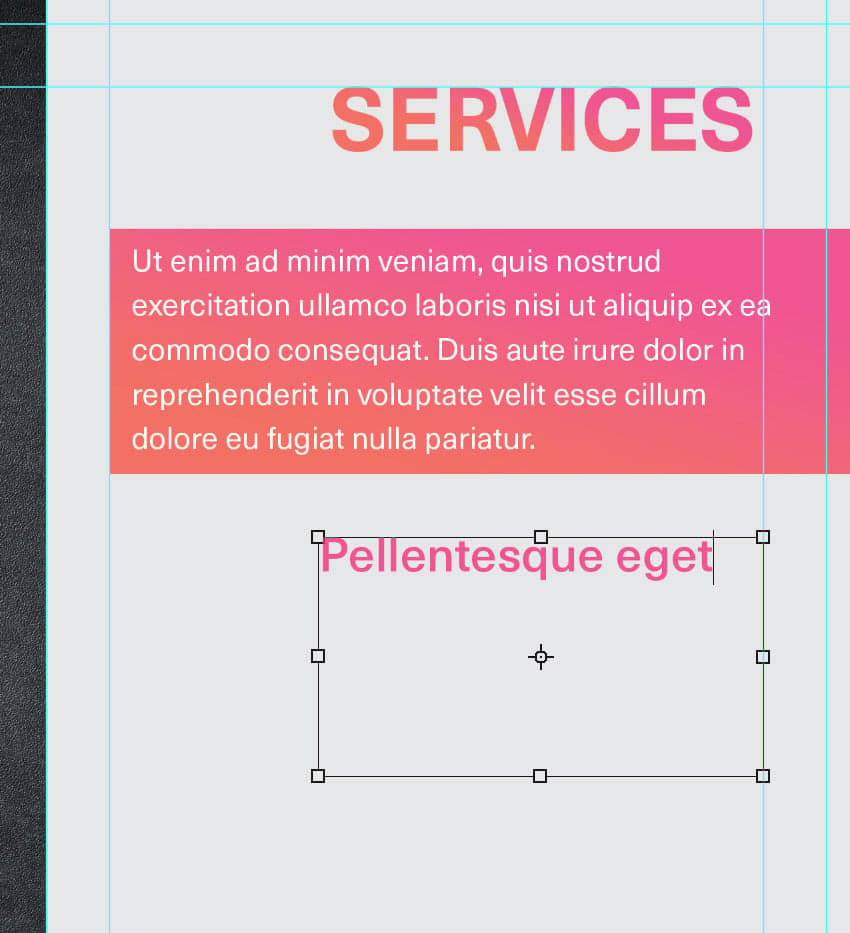
Start by creating a text box that is 56 millimeters in width. Using Neue Haas Unica in Medium at 17 pt set to hot pink (#EF5591), type out the name of your service.
Step 5
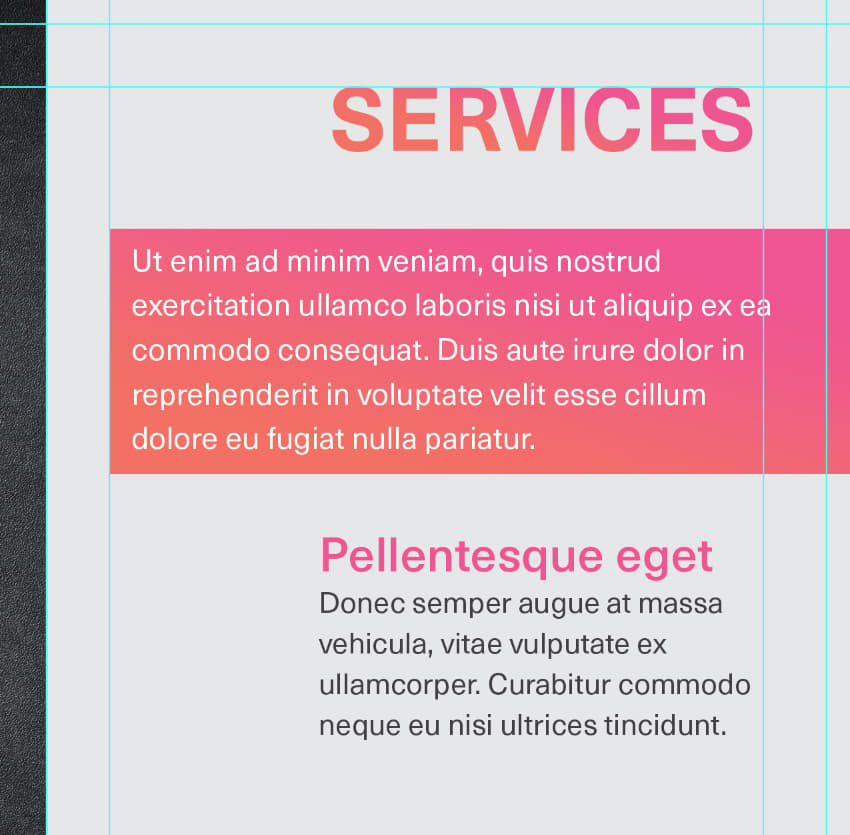
In the same text box, type a brief description of the service. Below I used Neue Haas Unica in Regular at 10.5 pt set to a medium gray (#414142).
Step 6
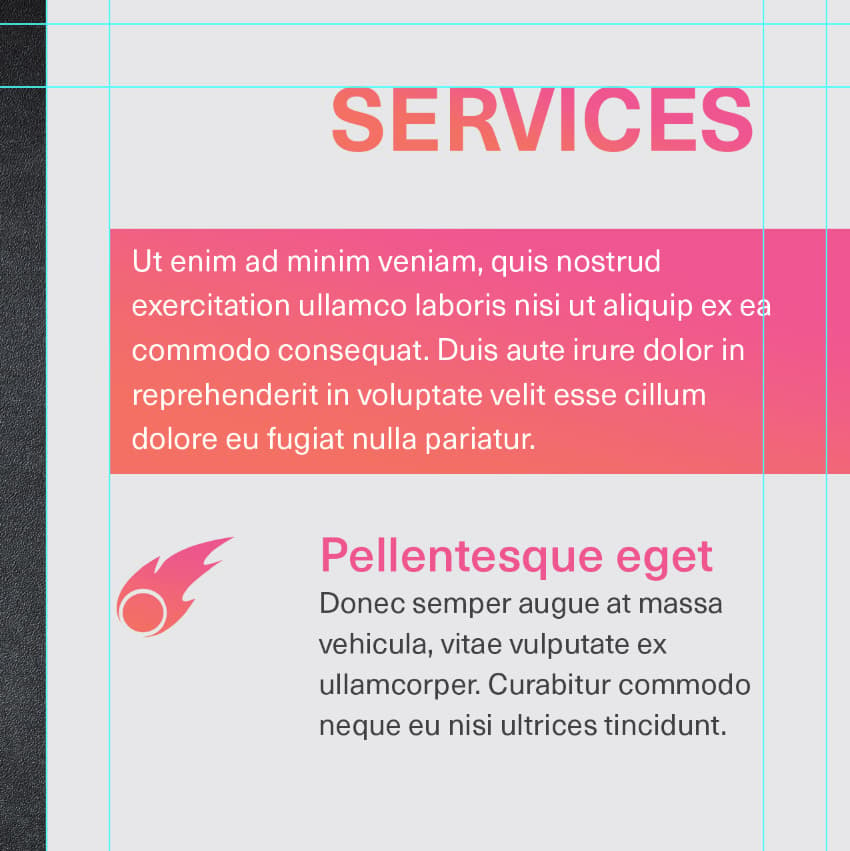
Add icons related to the service to the left of the text. Again, I am using the 15 Space and Astronaut Icons pack.
Copy and paste the same pink-to-orange gradient from the rectangle onto the icon.
Step 7
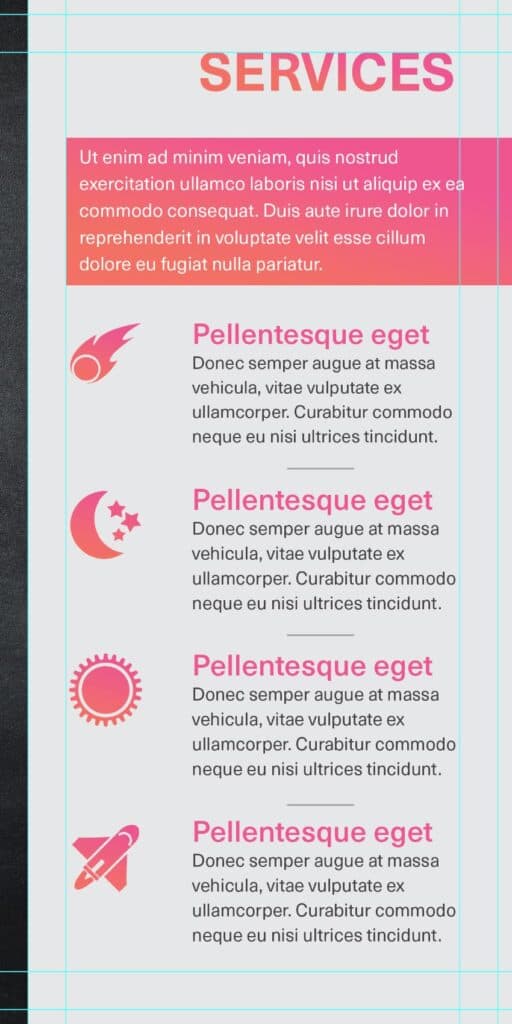
Repeat this step for all of your services! Group each service into a group, keeping the text and icon together.
Once done, group the different service groups into one final group named “Services Offered.”
Step 8
Finish up the “Services” panel by adding some 1 px medium gray (#414142) lines between the different services using the Line Tool.
Group all of the layers you just created into a group named “Services.”

Step 9
For the rest of the back side of the brochure, we are going to combine the middle and left panels to create one large panel.
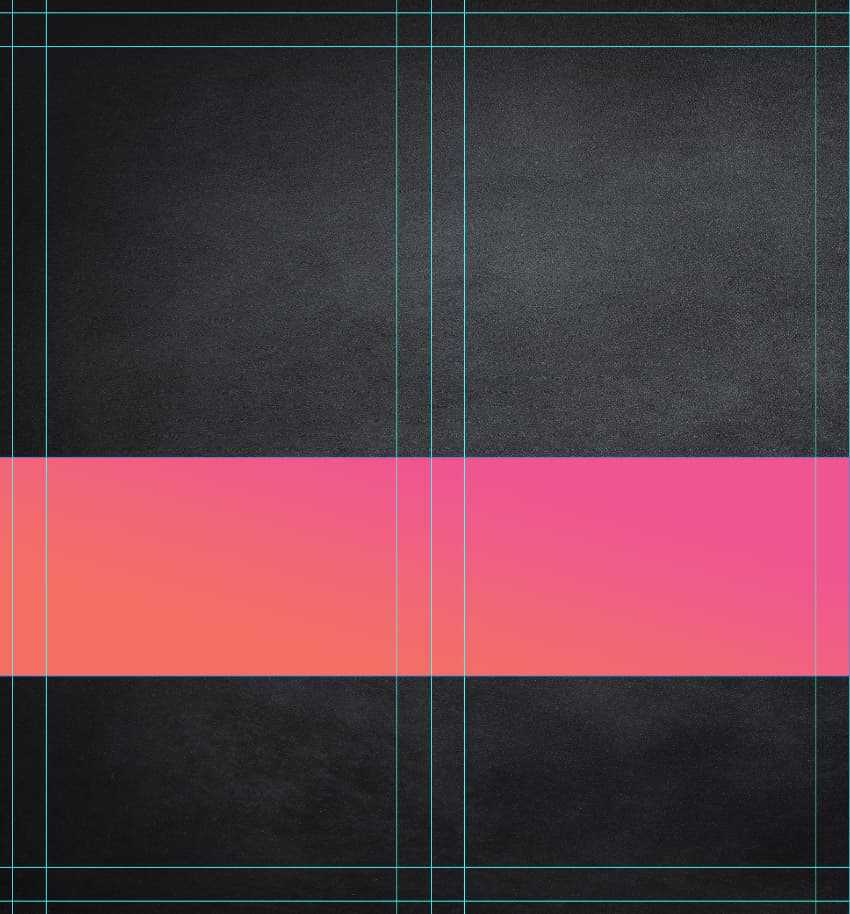
Start by adding a 201 x 52 millimeter pink and orange gradient rectangle towards the bottom-middle of the left canvas.
Step 10
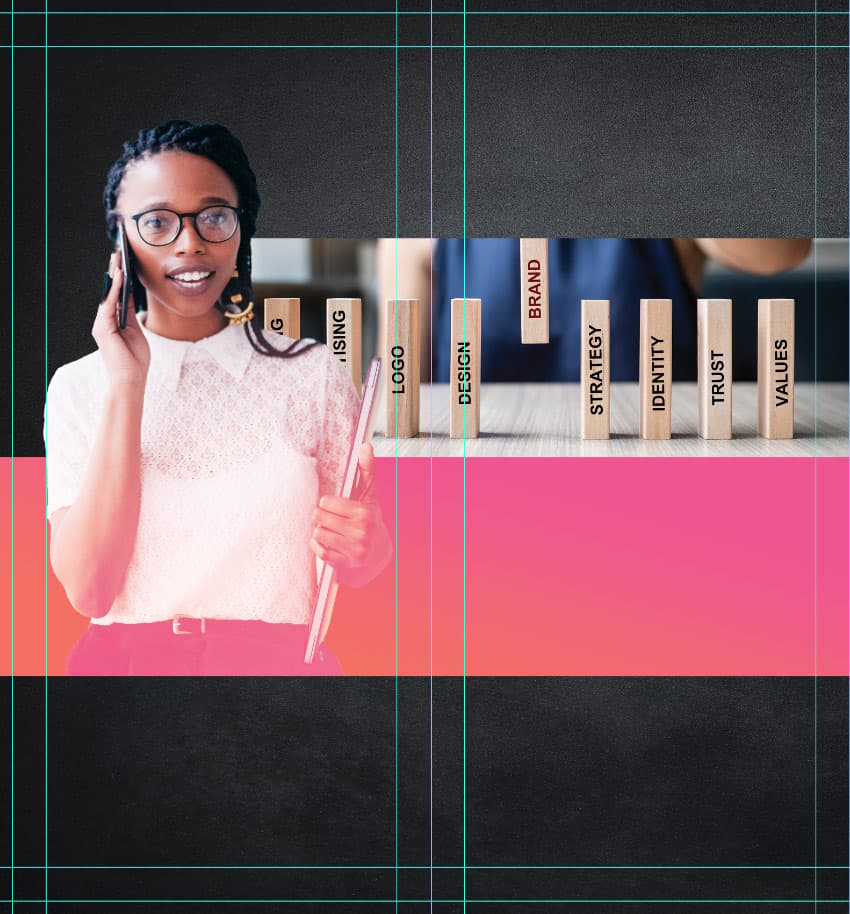
Take a copy of your previously extracted subject and place her on the left side of the canvas, aligning the bottom edge of the image with the bottom edge of the gradient rectangle.
Create a pink (#ef5591) to orange (#f26f64) Gradient fill layer. Set it to Style: Linear and Angle: 90 and clip it into the subject.
Use a soft black Brush to mask out the gradient covering the subject’s face and upper body.
Group these two layers, naming the group “Model.”

Step 11
Create a second rectangle below the Model group and above the gradient rectangle.

Step 12
The color of the shape doesn’t matter as we are going to clip a background image into it! I will be using a Wooden Dominoes image.
Step 13
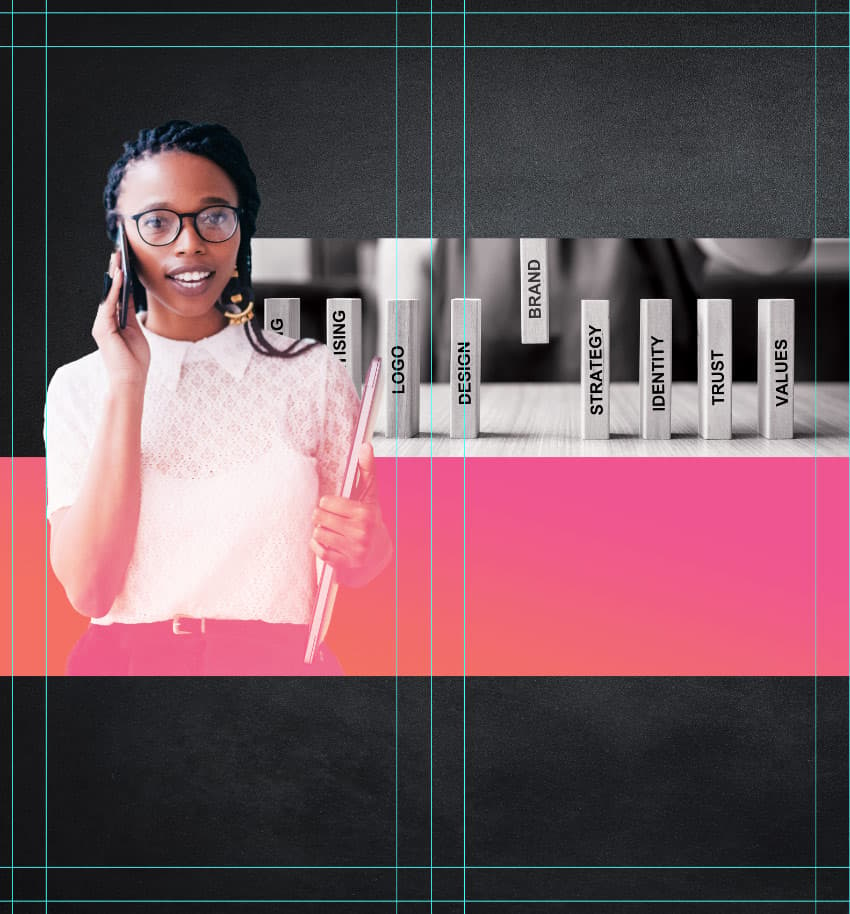
Adjust the Image > Adjuemnts > Hue/Saturation so that the image is grayscale. Give it a slight blue tint with Image > Adjustments > Color Balance set to +15 blue, -15 red.
Lastly, up the Contrast to +56 using Image > Adjustments > Brightness/Contrast.
Step 14
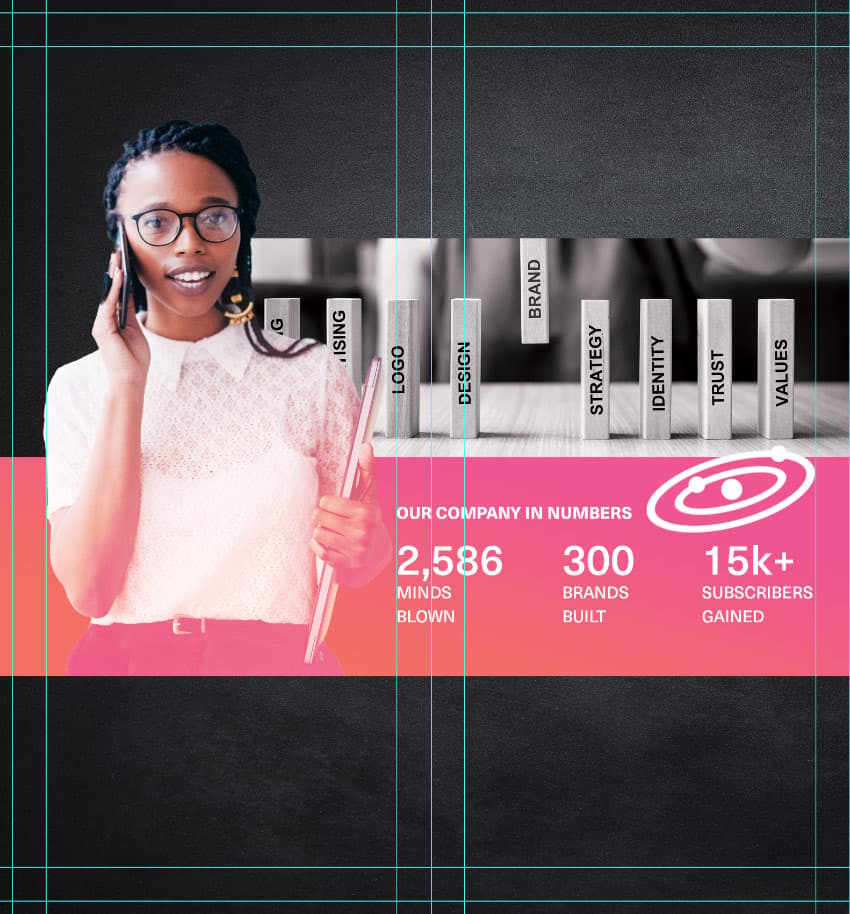
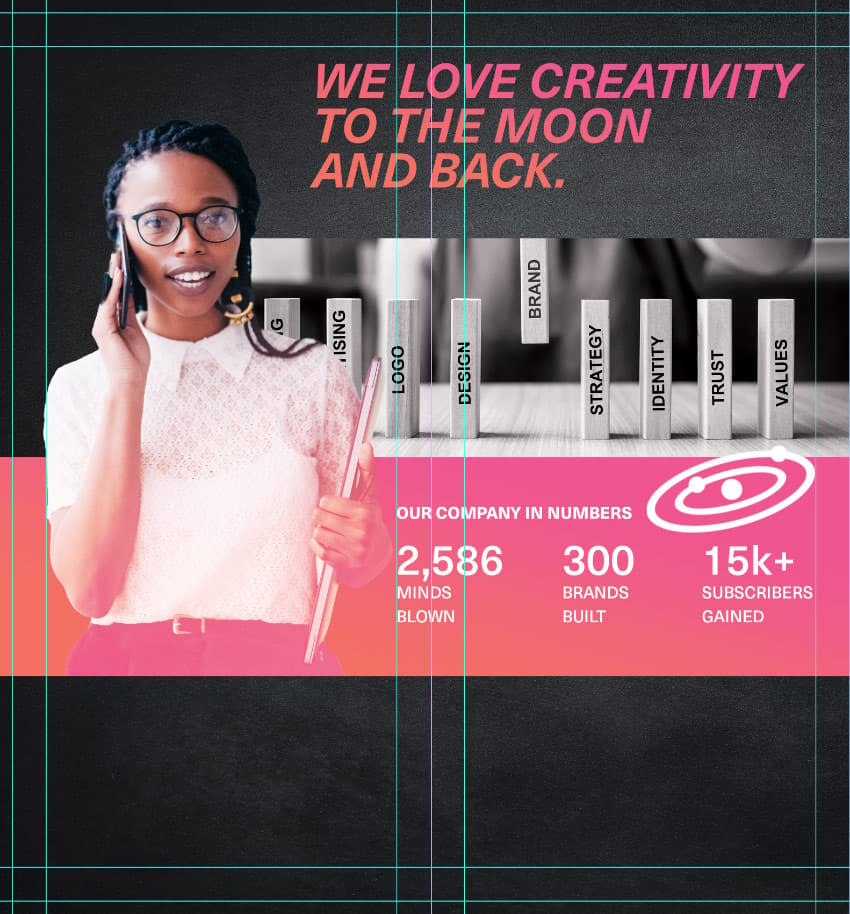
Add all of your company facts onto the gradient rectangle using Neue Haas Unica.
Below, I used Heavy for the “Our Company” title and Medium for the statistics.
Add any extra fun icons or branding, set to white, to fill up any space if you have it!
Step 15
Add a title to the top of the brochure using Neue Haas Unica in Bold Italic.
Place the same pink-to-orange gradient onto the text, from the rectangles.
Step 16
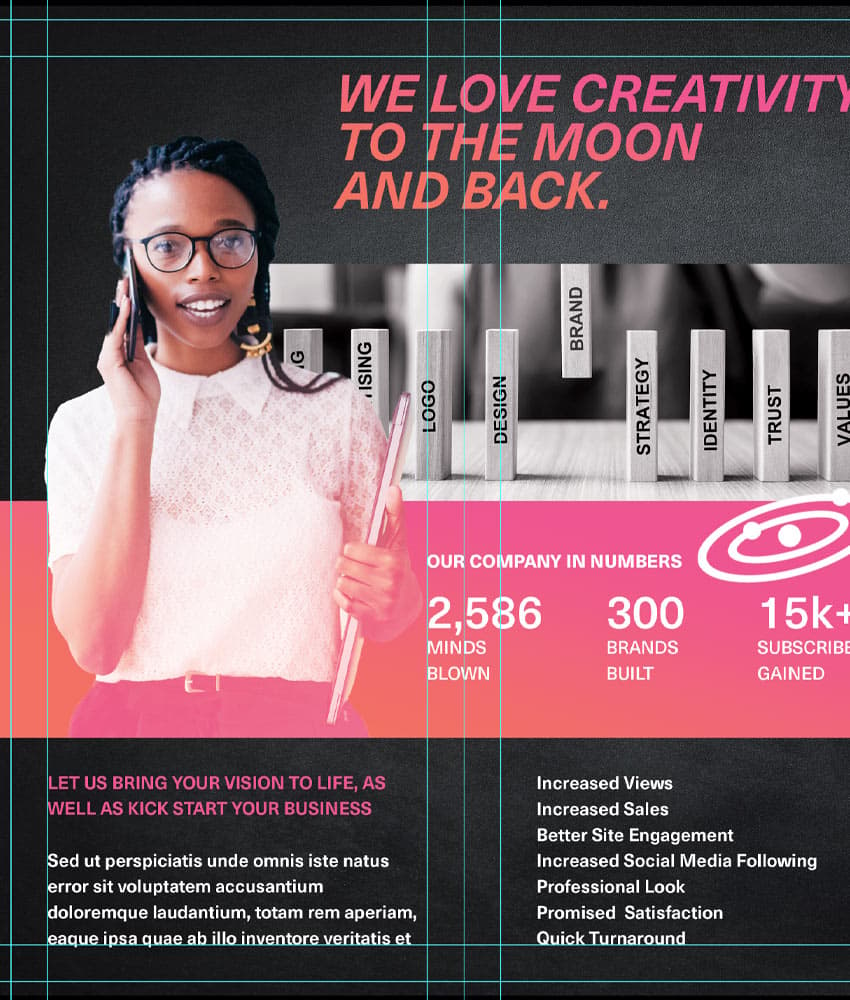
Finally, fill the bottom half of the brochure with a short “about us” section and a list of results!
For the subtitle, I used Neue Haas Unica in bold at 11 pt set to hot pink (#EF5591), changing the font to white for the extra text below.
For the right-side list, I used the same Neue Haas Unica in bold at 11 pt set to white.
Step 17
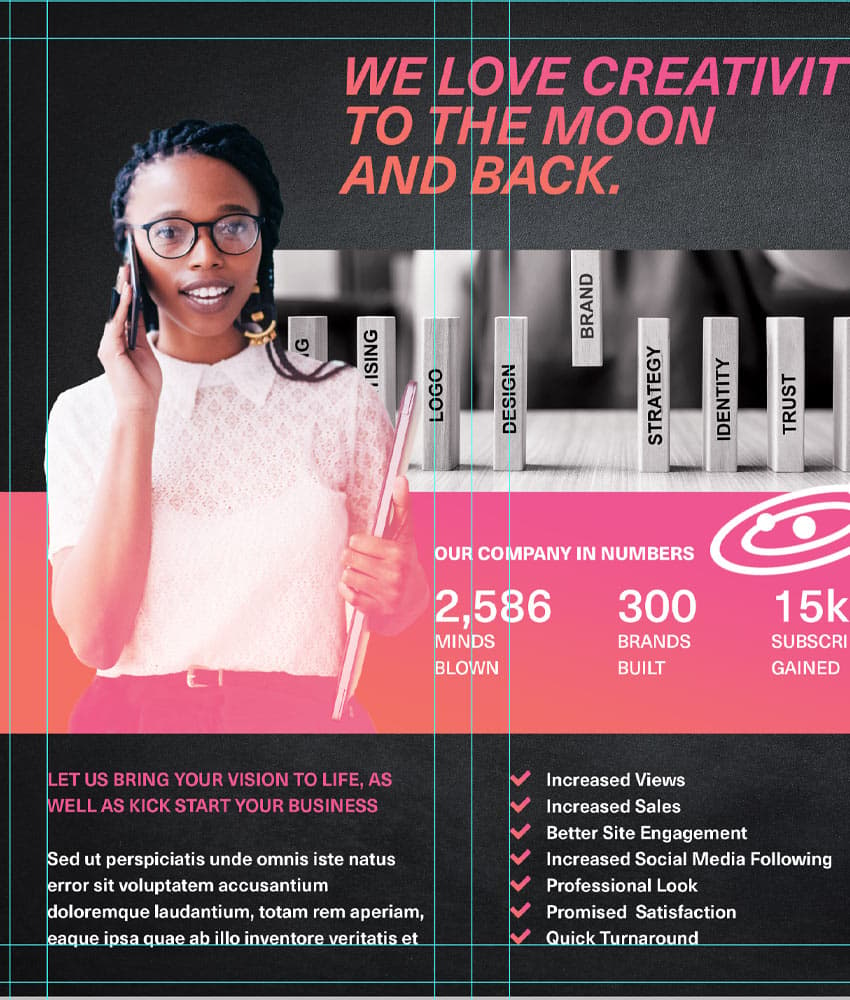
To finish things off, I added some pink-to-orange gradient checkmarks to the side of each list item using this UI Icon Set.
Group all of your checkmarks into their own group and then group the “checkmarks” group with the list text, and you are all done!
That’s It! You’ve Created a Template for a Tri-Fold Brochure
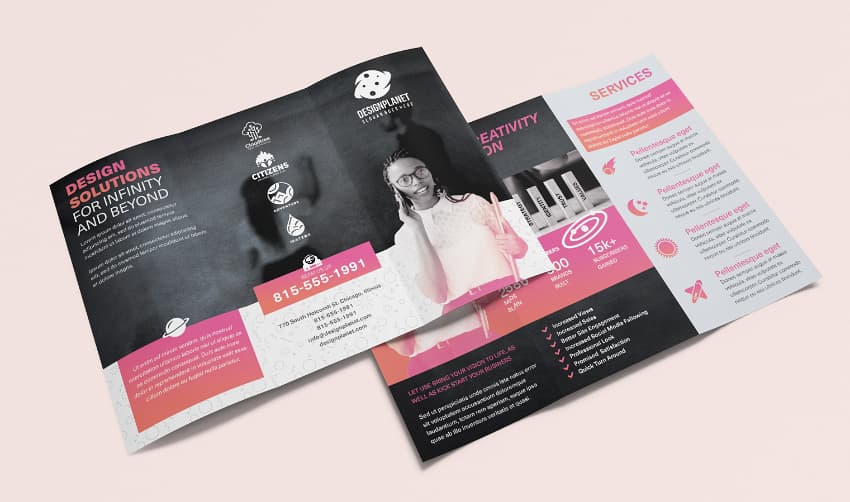
That’s all there is to creating a tri-fold brochure mockup. While it may look like a lot, from tri-fold dimensions settings to design, in reality, it’s just using the same design themes over and over again to keep things readable, minimal, and cohesive. Sticking to one font and only a handful of colors will not only ensure an attractive design but will also save you time.
Remember, you can always copy and paste your layer styles from one layer onto another; there’s no need to apply the same settings over and over again.
In a Hurry? Find Tri-Fold Brochures Ready to Use!
In a hurry and need a blank tri-fold brochure template for Photoshop right now? Then you’re in luck! Envato Elements has dozens of designs to choose from; just download, place in your info, and you are good to go.
Here are some of my favorite tri-fold brochure designs, all from Envato Elements!


The Photoshop trifold template is all about getting you or your customers pumped for the gym. The tri-fold brochure template PSD features a minimalist design that still manages to have a ton of energy thanks to its use of red as an accent color and sharp modern shapes.


This tri-fold brochure template Photoshop download is ideal for market research, statistics, and financial services. It offers plenty of room for information as well as graphics that are easy to swap out for your own. Give it a try today.


Jump on the geometric shape trend with the Geometric Brochure Tri-Fold template. Minimalist yet colorful at the same time, this template for a tri-fold brochure has a ton of room for long-form text as well as images. Thanks to its versatile design, it can be used in every field and industry.


This simple tri-fold brochure template Photoshop download offers you just the right amount of space, so you don’t have to worry about filling in paragraphs of filler information or wondering what images to place where. Add only what you need, and get it done fast!


Kick-start your creative studio with the perfect tri-fold brochure design! Don’t let the name fool you, however—you can use this Photoshop brochure template for large corporations, small businesses, startup agencies, or any other professional services.
So now you know how to make a tri-fold brochure. But don’t stop now; why not check out even more tutorials below:
- 23 Best Free Flyer PSD Templates (Photoshop Designs to Download)
- How to Create a Promotional Flyer in Photoshop
- How to Design a Vintage Book CoverGrace Fussell
- How to Create a Book Jacket Template in InDesign
- How to Create a Magazine Cover Template in InDesign
- 10 Tips for Designing High-Impact Magazines

